F100 - Refinish Thread

The place to discuss, post photos, video, and audio of the G&L instruments produced from 1980 to 1991, including the amps & gear we use with them.
User avatar
Danley
Posts: 711
Joined: Wed Aug 12, 2015 9:23 pm
Location: Orange County, California Republic

F100 - Refinish Thread

Post by Danley »

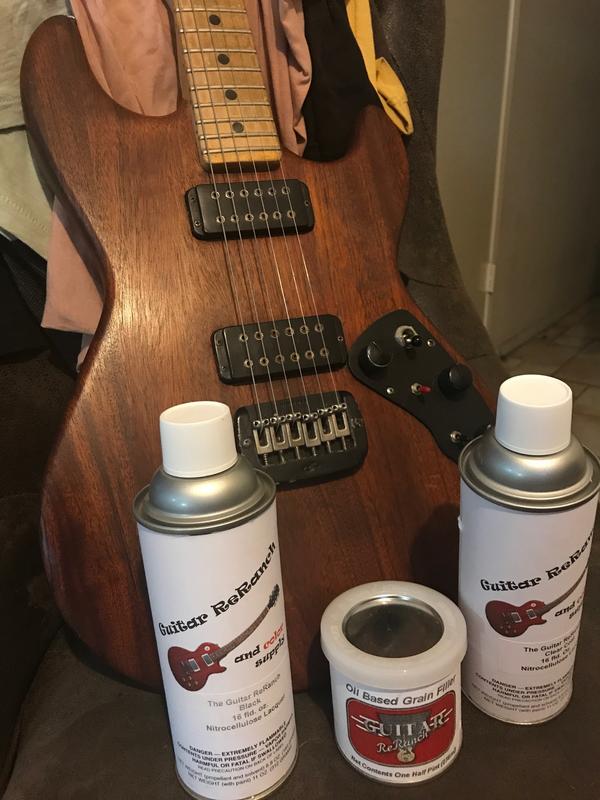
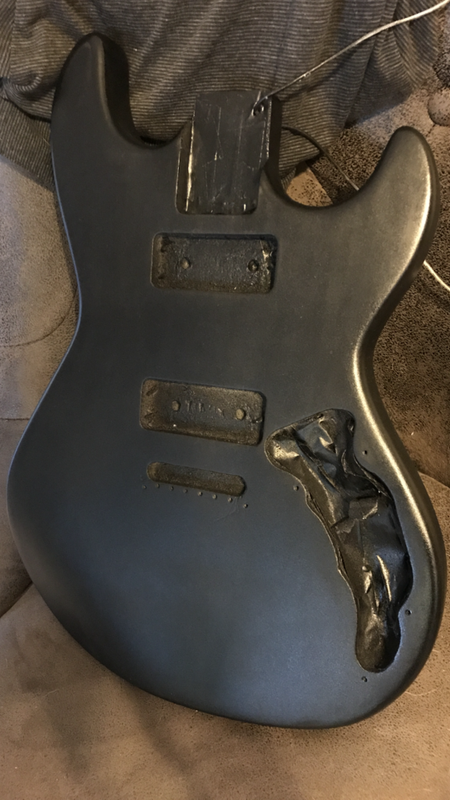
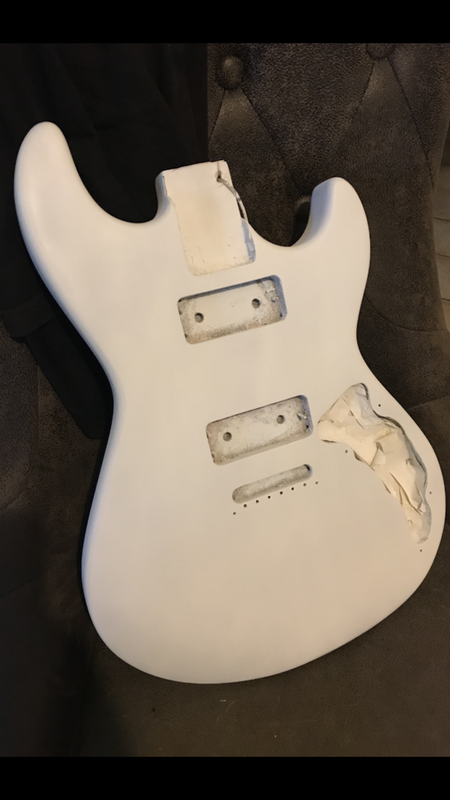
It's been 90 - 100 + degrees in SoCal so I can't play a guitar without covering it in sweat. As best as I can tell, this guitar has either no finish above the stain, or a very light/worn oil finish. Based on fear of getting soaked and warped this one stays in its case which is not right as it is -seriously- the best playing/sounding guitar I've ever touched.

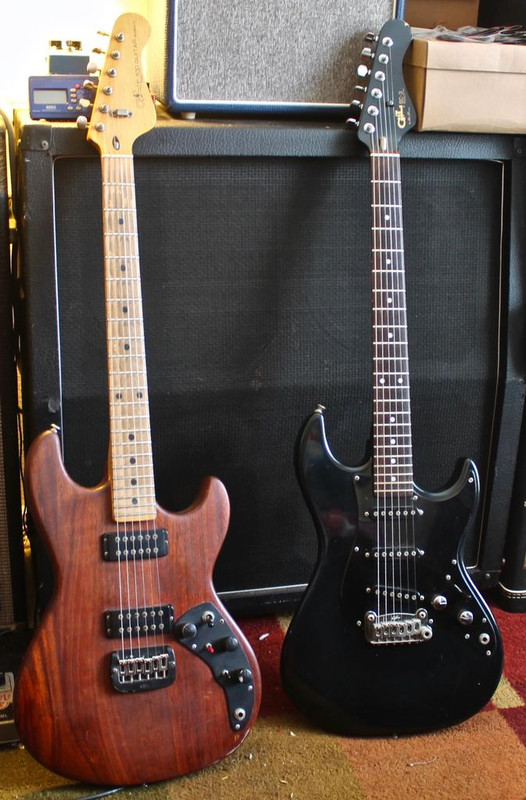
Gabe at ESI provided me with the prod. log entry indicating this was originally a black guitar - which I knew. So it's going back that way :) Hoping to follow as best as possible the original Fred Finisher instructions, except substituting ReRanch lacquer primer for the base clear coats. I got the oil filler, black & clear a month ago, sand/sealer & primer were not available from ReRanch until this week so I'm waiting for those before I start disassembly & prep. All nitro lacquer - I've refinished in poly/Duplicolor before, but hope to take my time and not screw up. It's 70 degs. when I wake up at 5:00 AM, very small window to spray anyway.

Image

Image

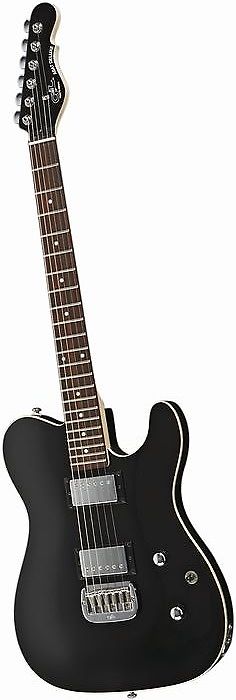
Will have all matching G&Ls (also have a black/black Tribute ASAT - stock image is my only photo at this time) :)

ImageImage
Last edited by Danley on Wed Aug 22, 2018 8:33 pm, edited 2 times in total.
User avatar
Danley
Posts: 711
Joined: Wed Aug 12, 2015 9:23 pm
Location: Orange County, California Republic

Re: F100 - Refinish Thread

Post by Danley »

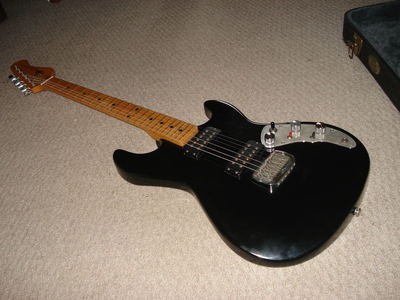
There aren't 'after' pics - but the only black/maple/hardtail F100 I can find, and it doesn't have the matte plate/bridge. Inspiration :)

ImageImage
Dr G
Posts: 8
Joined: Fri Jun 14, 2013 2:57 pm

Re: F100 - Refinish Thread

Post by Dr G »

Looks nice, but putting lacquer over oil may be a tricky proposition... good luck with it man!

Doc.
User avatar
Danley
Posts: 711
Joined: Wed Aug 12, 2015 9:23 pm
Location: Orange County, California Republic

Re: F100 - Refinish Thread

Post by Danley »

I would have thought so, but a few people (including Bill from ReRanch) indicate it shouldn't be more than a scuff & sand over what's on there right now. I admit not knowing what (if anything) is applied as a finish at this moment is what has me most leery, yet is also the driving factor for doing this. I'll move slow and make sure nothing lifts :)
Dr G
Posts: 8
Joined: Fri Jun 14, 2013 2:57 pm

Re: F100 - Refinish Thread

Post by Dr G »

Hope so man, I have had oil come up through a refinish some years later... very strange. That is a beautiful piece of wood, I would hit it with some danish watco a few time a year and not worry about the sweat.

Really nice story about your dad, my dad passed away recently as well... but he hated that I played electric, excellent that you were able to share that with him.

Doc.
User avatar
Danley
Posts: 711
Joined: Wed Aug 12, 2015 9:23 pm
Location: Orange County, California Republic

Re: F100 - Refinish Thread

Post by Danley »

Thanks- Again I hope it's a fitting tribute to him. When we repaired/restored cars we always tried to figure out the stock paint codes etc. We'd stick with the original color even if it was something hideous, so perhaps this is a fitting tribute to restore back to stock. Sorry to hear about your father too.

I understand schellac makes a decent finish barrier but I'm going to try not using it first as I read it's not an ideal sealer for other reasons anyway.
User avatar
Danley
Posts: 711
Joined: Wed Aug 12, 2015 9:23 pm
Location: Orange County, California Republic

Re: F100 - Refinish Thread

Post by Danley »

One thing about me - I HATE taking things apart; but not as much as a hate *having* them apart. Trust me; pulling this thing to pieces is the most difficult/procrastination-incurring part of this for me, so I anticipate updates should be more regular (even if I really want to take my time and get this right when it comes to actually laying on finish.

How dumb is it that I want to preserve this patch of the original finish below the neck plate?

Image

Trivia most of you know- The F100 is the only guitar G&L made with both string-through design and the Saddle-lock bridge. The saddles are also totally unique. Visible are the bridge boss, and the ground wire attached to copper cavity shield (now removed for the refin.)

Image

This is an '83 per the factory log-book...

Image

Scribbling

Image

Some awesome previous owner cut and spliced the pickup wires, so I un-spliced them at the same point; all of ~7.4k in both humbuckers (3.7k each coil,) but they're hot!

Image

Birds nest I'm glad to not need to deal with; splices again not mine. Not original wiring by some percentage

Image

Cavity stuffed like an embalmed corpse; don't care about overspray in it, but figured might as well seal it off a bit. Ferrules came out pretty easy, everything is cataloged and packed away for re-assembly. Wadded up paper in the ferrule holes and stuffed toothpicks in the pickup holes (they're metal inserts/threaded.)

Next stop is a scuff of the body w/ 3M pad & light sanding, and let's see how the nitro sand/sealer from ReRanch goes on...

Image
User avatar
FZTNT
Posts: 973
Joined: Tue Jan 19, 2016 3:27 pm
Location: DC Area, Virginia

Re: F100 - Refinish Thread

Post by FZTNT »

Looks like you're well on your way. I dunno though, that Mahogany is beautiful, I'd be tempted to leave it bare and enjoy the natural wood. Either way, it will sound awesome. I have always loved Mahogany on electric guitars. I have two ASAT Special Builds that have Mahogany bodies and necks, plus a hot wound MFD in the bridge and they scream if pushed a little.

Keep posting, great thread.

Tom
User avatar
Danley
Posts: 711
Joined: Wed Aug 12, 2015 9:23 pm
Location: Orange County, California Republic

Re: F100 - Refinish Thread

Post by Danley »

Took a lot of thought to get where I was comfortable changing anything. But not counting sentimentality- at the end of the day, my satisfaction in playing it was diminished by the feel & uncertainty of the rough/uneven non grain-filled finish- not to mention, the photos give too flattering an impression of it. Up close there are numerous gouges/scratches that will need serious grain filling to rectify (many of which likely incurred during removal of the original finish.) It wound up as a 'pride in ownership' thing for me to get it that much closer to 'factory.' I'm not a huge fan of relic guitars; and if I ever become one, the neck still has scars I am leaving that tell the guitar's story.

While there is some shame in covering the (not-at-all unattractive) grain of the two piece mahogany body, I just keep telling myself I can go back to that any time I want ;)But as it hangs, a couple coats of Sand & Sealer are now applied. One more coat of that and it's on to some sanding & grain filling, then another coat of sealer. In all honesty, I feel relieved to at least be certain the body now has some sort of finish protection applied. Paranoia already abating.
User avatar
Danley
Posts: 711
Joined: Wed Aug 12, 2015 9:23 pm
Location: Orange County, California Republic

Re: F100 - Refinish Thread

Post by Danley »

No-pic update, to show this is making progress/not abandoned: Want to say I'm done with grain filling after three or four repeats, seems I've got the body pretty well smooth and the deeper gouges all ID'd and filled. Guitar as it hangs looks about the same as it did above, but up close and to the fingers there is a definite difference. Again I'm almost tempted to give it a clear (so it really has that steakhouse dining table vibe ;) ) But there are some deep gouges I had to repair with filler (Reranch filler is opaque) so it'd not look good unless I laid some carefully chosen transparent color on top.

So still proceeding onward to black. Once the last grain filler has set, I'll lay additional coats of sealer before primer to get everything as smooth as possible prior to color coats. Considering how lazy/sleep deprived I am lately I think I'm making steady progress on this.
User avatar
Danley
Posts: 711
Joined: Wed Aug 12, 2015 9:23 pm
Location: Orange County, California Republic

Re: F100 - Refinish Thread

Post by Danley »

Not quite as it sits- this is pre-clear. I flatted the color coats with 600 grit just as a caution against dust etc. before the final coats are applied.

Image

Used primer, even though apparently G&L didn't :) Clearcoat is setting overnight now, with a few coats left to go. Those pics will come later.

Image
User avatar
Danley
Posts: 711
Joined: Wed Aug 12, 2015 9:23 pm
Location: Orange County, California Republic

Re: F100 - Refinish Thread

Post by Danley »

May as well be candid and post my setback, which I keep telling myself is minor:

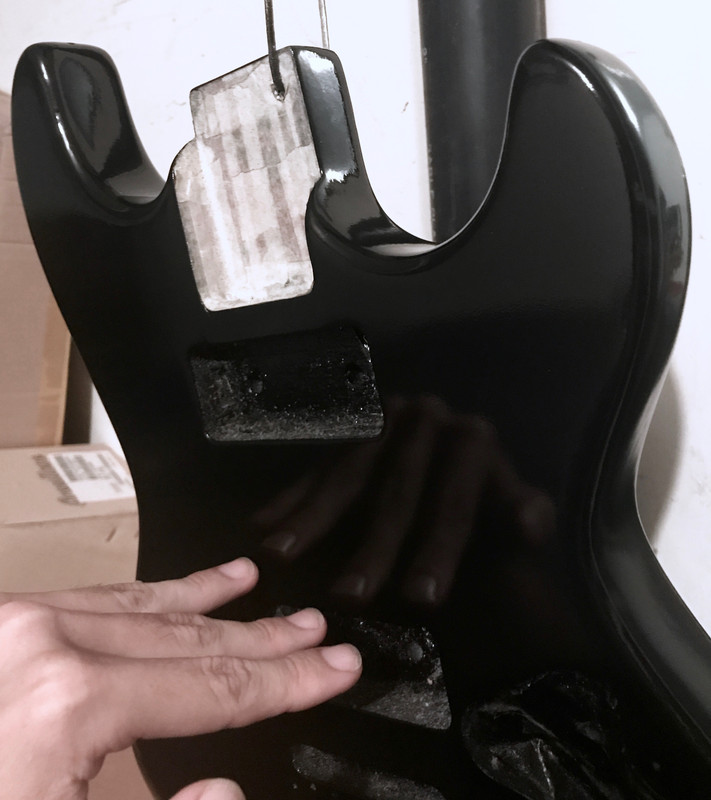
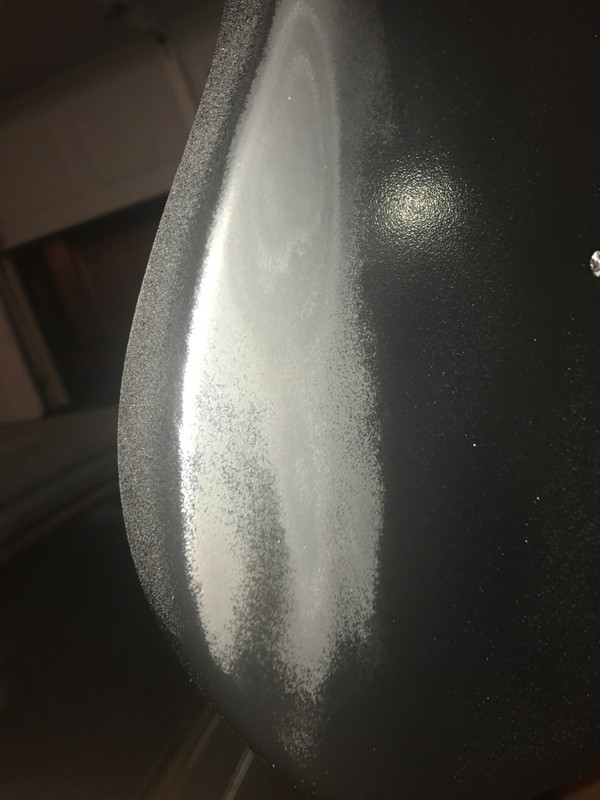
Very close to the final clear coats, and I get blush :x Rookie mistake- I waited for the temp. to get down to 75/late evening before spraying (per my usual) but neglected to realize the humidity today is also 75% . How is that even possible in SoCal on a clear, bright blue day? I did not even think to check, as it doesn't even feel humid and again- I'm not in Florida, ugh.

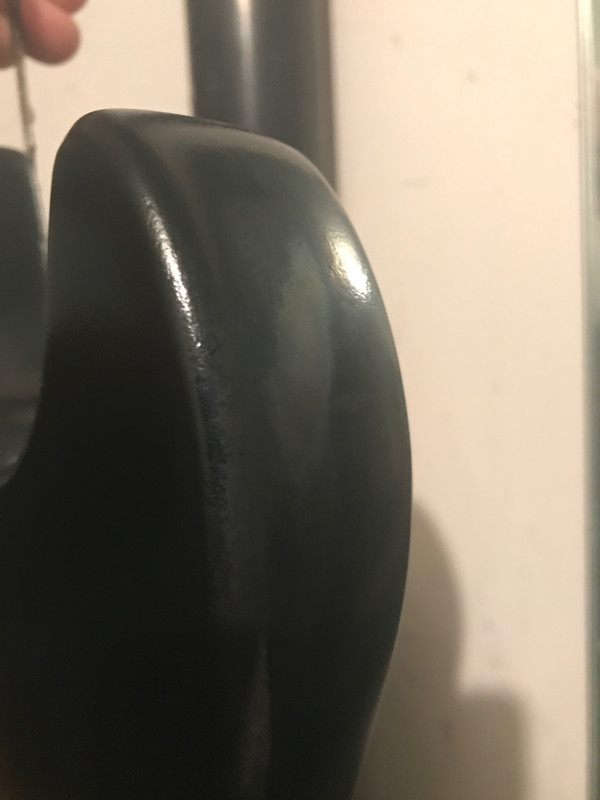
Anyway, somewhat lucky for my ego anyway- the front of the guitar is not affected. I was spraying the diagonal between the back of the guitar and the edge when it happened so there are two relatively minor spots on the upper treble-side edge of the guitar, one very minor spot on the back, and one freaking giant two inch thick streak on the back/edge above where your thigh would be. They all seem to be getting smaller- but after a couple hours, all are still visible.

Anyway - Right now I just hope I die of old age soon, I'm so pissed at myself. Then again, I have some blush remover on order, and I understand this is not the end of the world. I hope?

Happy to say after a few hours a couple of the blush spots are almost totally gone, but one looks awful still. The blushed areas are a lot more matte & smooth; I would almost mistake them for having been sanded flat rather than really being 'cloudy.' Sort of wonder what would happen if I just sprayed more clear on top to add back the gloss & re-flow things. Not doing that. Waiting for the remover; being patient:

Almost disappeared:
Image

Below still looks bad:

(Actually not quite this bad in person without the flash but- still.)
Image

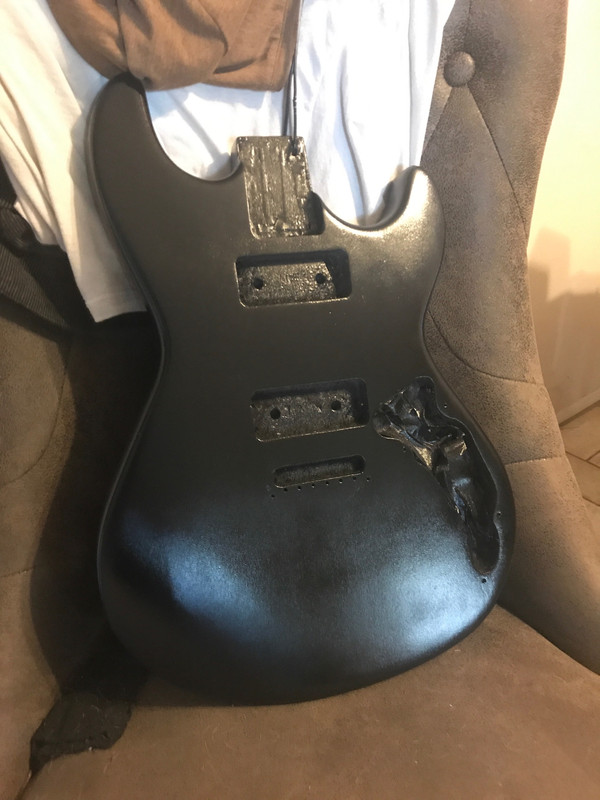
One can clear, in the good old days with no blush:
Image
User avatar
Danley
Posts: 711
Joined: Wed Aug 12, 2015 9:23 pm
Location: Orange County, California Republic

Re: F100 - Refinish Thread

Post by Danley »

So the kind recommendation was made that I had too much orange peel/texture on the clear; as a result I again flatted the body down with 600 grit. I was not sanding between coats of clear and was using too dusty/dry of a spray pattern. I took off probably 3/4ths of the clear to get it to this stage, so I can see how it would have been difficult to approach a final polish with that rough of a spray.

So two more cans of clear are going on. Also, the blush is now erased as a result of sanding most of the clear off. Think I've practiced spraying enough for a smoother top-coat. A few primer sand-through are visible below which I already fixed:

Image
User avatar
glvourot
Posts: 631
Joined: Thu Dec 09, 2010 11:15 am
Location: British Columbia

Re: F100 - Refinish Thread

Post by glvourot »

Patience yes, but also a learning experience. * High Five * Carry on.....
Paul
User avatar
Elwood
Posts: 2498
Joined: Tue Feb 09, 2010 2:00 am
Location: Canada's Mexico

Re: F100 - Refinish Thread

Post by Elwood »

It does take many coats to get that sheen....as glvourot says...patience. ;)

I was turned on to these Klingpor sanding discs, they are great !!
(use 600 grit every two coats until you have 10-15 built up...then the finer grits/rubbing compound/polish)

The foam holds a little water to keep things lubricated, the job goes quicker.


https://www.woodworkingshop.com/product/ka61200/
User avatar
Danley
Posts: 711
Joined: Wed Aug 12, 2015 9:23 pm
Location: Orange County, California Republic

Re: F100 - Refinish Thread

Post by Danley »

Thought you suggested a rotary drill disc for a moment :D Everything I read online indicated no need to sand clear coats (though I sanded between primer/sealer/color coats etc.) which is probably true if your spraying technique is ideal. At this point I plan to sand between every other coat with 600 grit till I've emptied the two cans of clear onto it, to guard against any possibility I'm sanding through a massive lumpy coating at the end (again.)

Biggest concern- the neck fit was already VERY tight. Hoping I don't chip the finish in the pocket. I've been very careful to mask and occasionally lightly sand that area for that reason.
User avatar
Danley
Posts: 711
Joined: Wed Aug 12, 2015 9:23 pm
Location: Orange County, California Republic

Re: F100 - Refinish Thread

Post by Danley »

I'm getting excited!

...Getting excited to wait three to five weeks for curing, that is.

Image
bassman
Posts: 402
Joined: Tue Feb 09, 2010 10:49 am
Location: North of Washington D.C.

Re: F100 - Refinish Thread

Post by bassman »

I've been away from this site a while but you are doing a great job. That F-100 will be near original and it looks great.
I hope you get to play it out a lot and have lots of fun doing it. :happy0065:

bassman Bill
If thine enemy wrong thee, buy each of his children a drum.
http://www.rags.ws
http://www.capitalbluesensemble.com
User avatar
Danley
Posts: 711
Joined: Wed Aug 12, 2015 9:23 pm
Location: Orange County, California Republic

Re: F100 - Refinish Thread

Post by Danley »

Thanks! Min. two more weeks of curing, it's still hanging and seems to be pretty hardened up- no smells/soft spots etc. The only difference is I knocked the shine down with 800 grit to aid the lacquer curing. Have everything I need for the wet sand and final polish, fingers crossed on that.