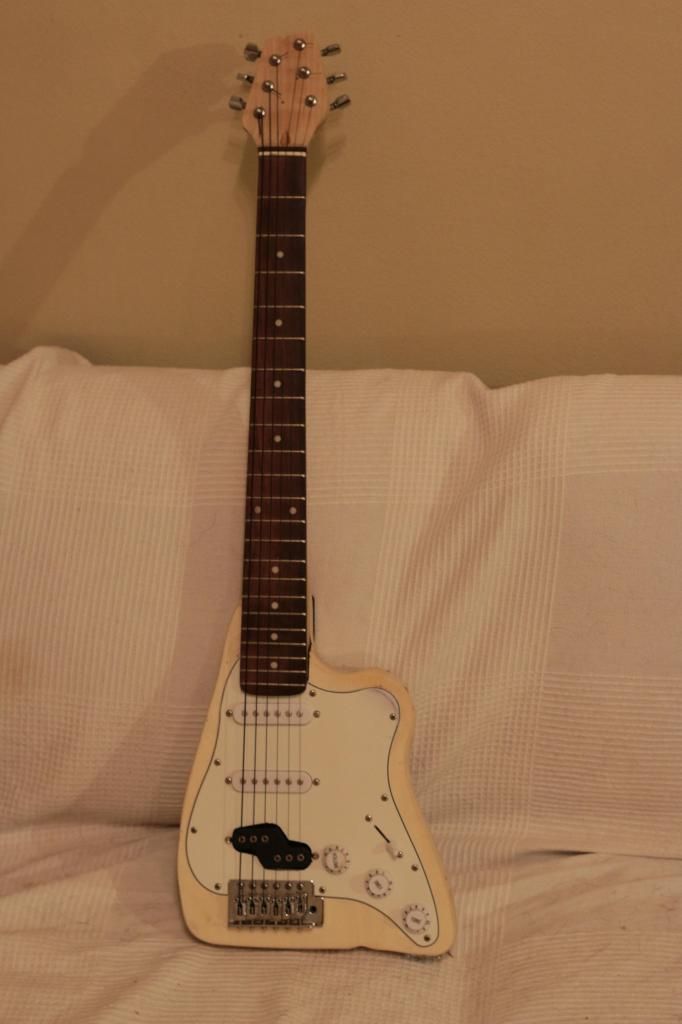
Making myself a travel guitar!

Fri Oct 31, 2014 11:22 pm

Hi all, it's been a while since I've posted (or even visited, to be honest), but I thought I'd start back with something interesting. I've had to move around for work a lot lately and was really missing my Tribute Comanche, so now that I'm settled for a while I thought I'd make something I can take on the road easily. There will be guitarnage! Here goes...

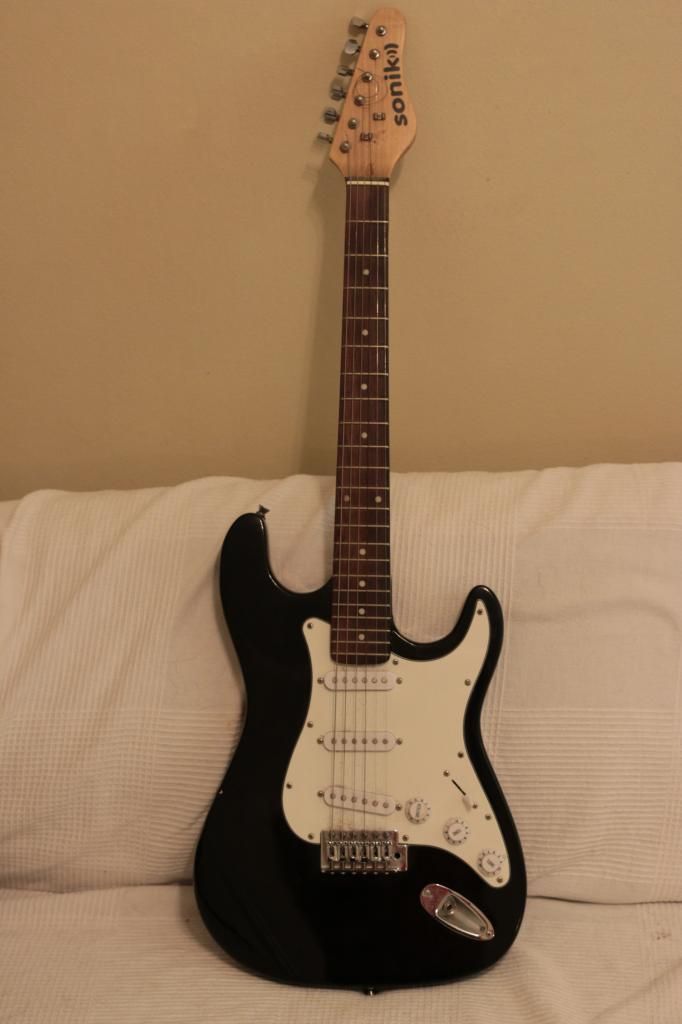
I picked up an el-cheapo strat-style guitar from Gumtree (kinda like a commercial version of Craigslist here in Australia)
Image

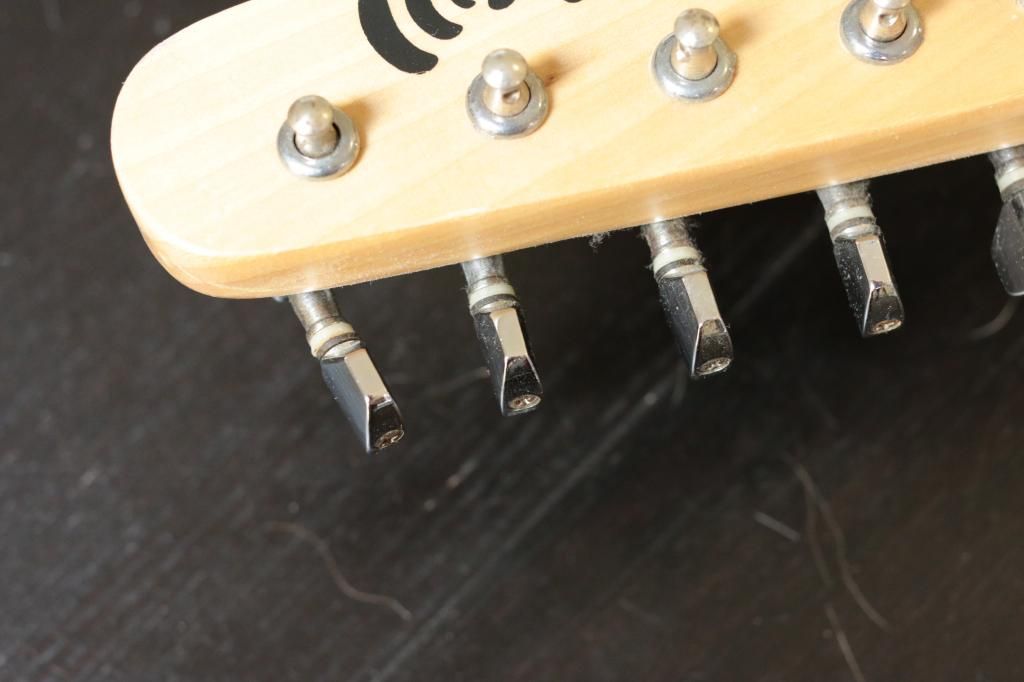
The neck's straight, which is all I really care about. As a bonus, the neck's quite comfortable, which will mean I'm more likely to actually play it when I'm away. The body is as soft as cheese, so I'll have to be careful not to bash it about, but by the same token I won't be concerned if I ding it. The tuning peg for the first string is bent, too, but it still works.
Image

First step: off with the cruddy old strings. They'd been wrapped around the tuning posts a million times!
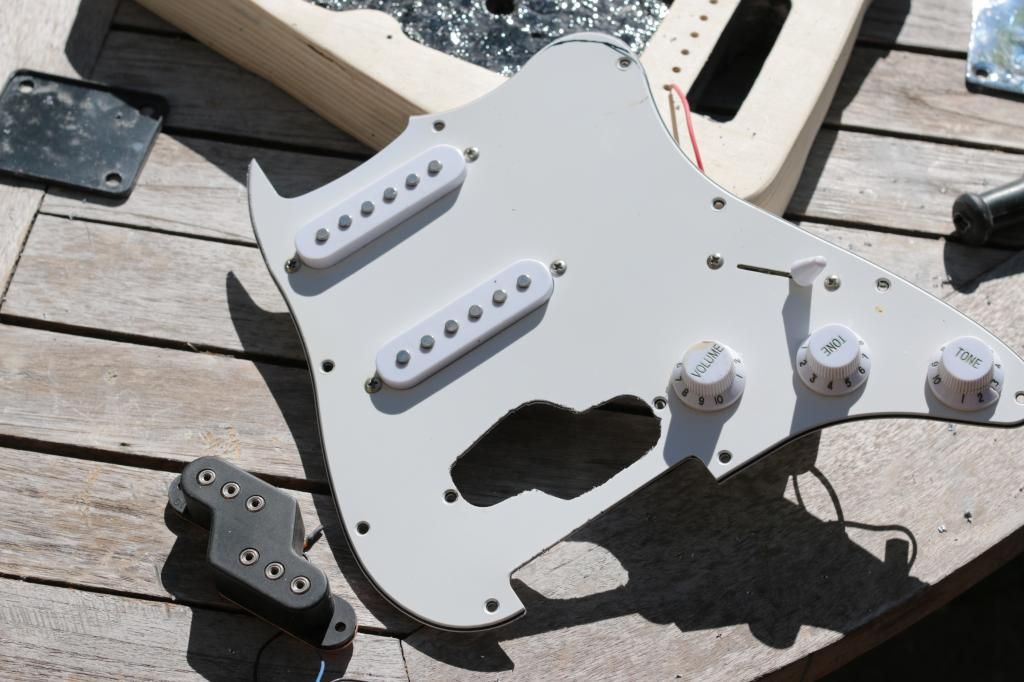
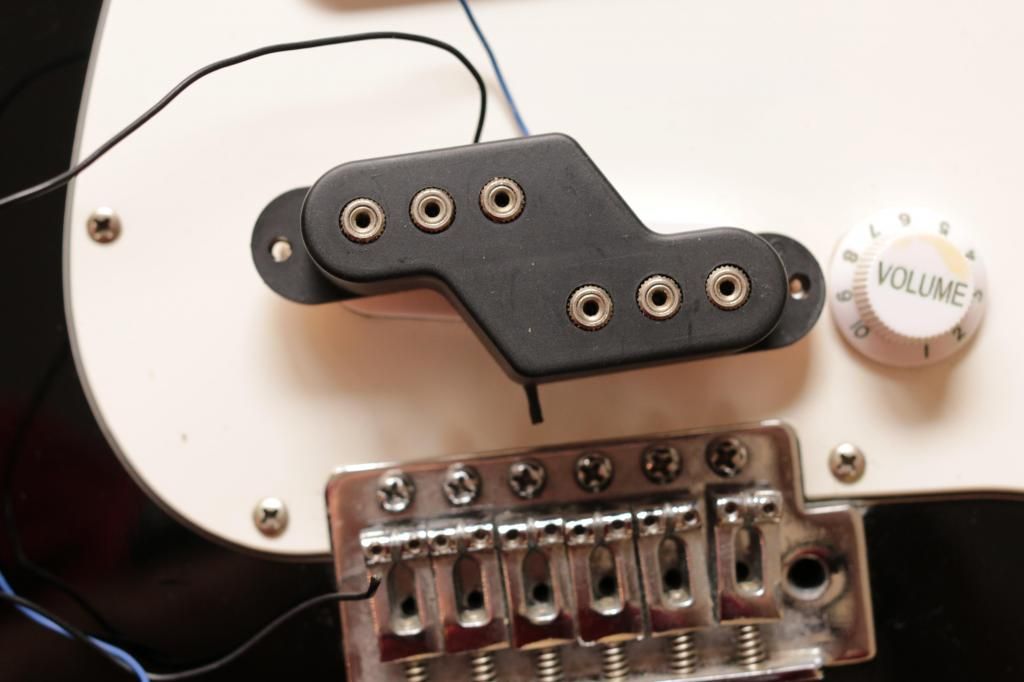
Next - and here's the G&L tie-in - see how the Z-coil lines up with the current bridge pickup. A little while ago, I swapped the bridge pickup in my Tribute Comanche for a Wil Ray Z-coil so I thought I'd put the old one to good use.
Kinda hard to see in the photo, but the screw holes do line up, which makes my life easier! Looks like the poles should line up with the strings pretty well, too. I traced an outline of the Z-coil on the pickguard and I'll trim the space to fit later on.
Image

Then, it's off with the bridge and pickguard. I de-soldered the connections to the jack and the ground connection to the trem claw, then unscrewed the bridge. The tremolo block material is really crappy zinc (I think). But it'll do.
Those saddles are quite wonky!
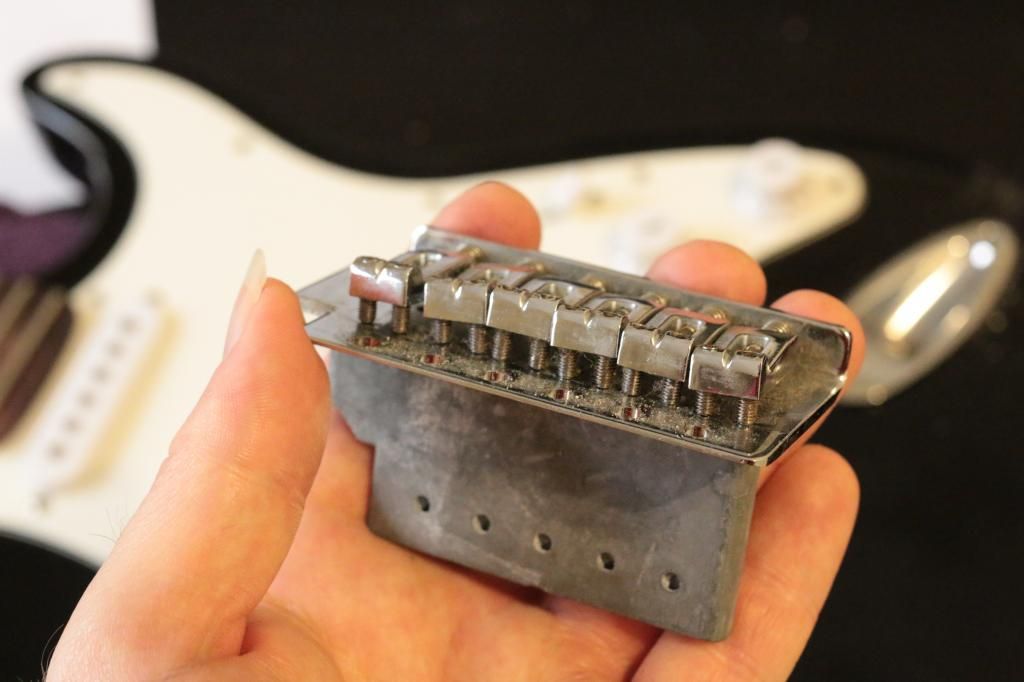
Image

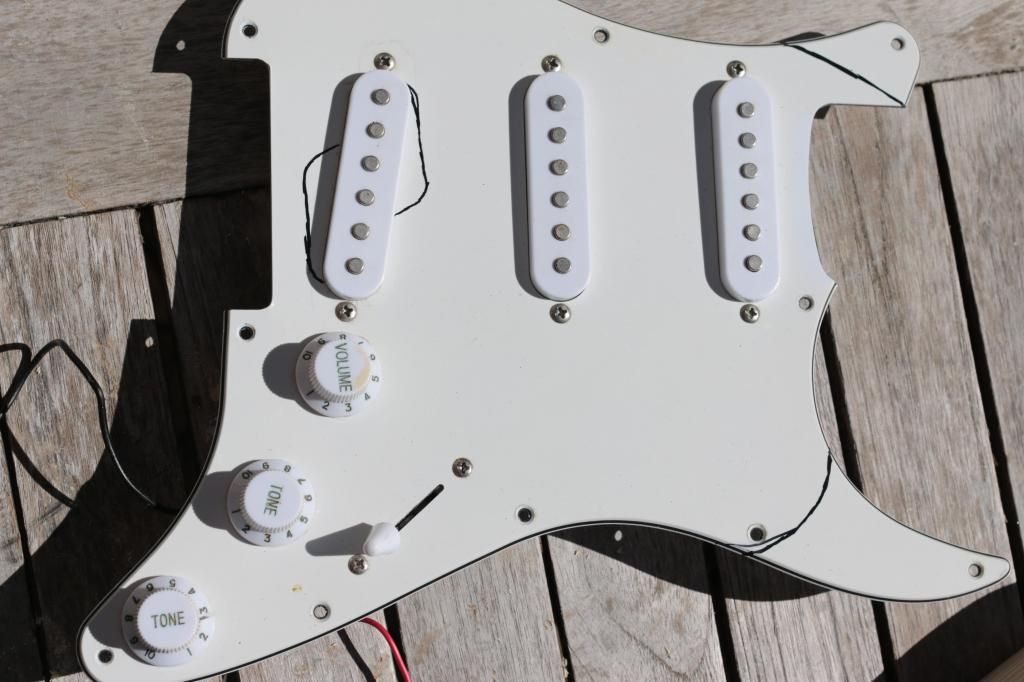
Next, it was off with the pickguard. These pickups look like slightly dodgy versions of MFDs!
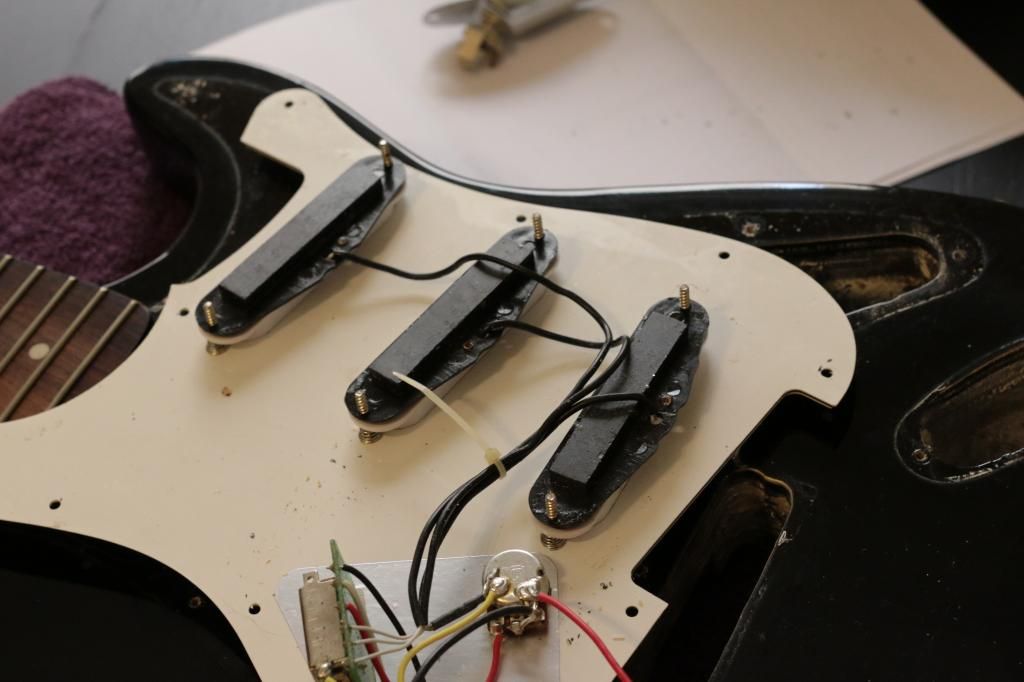
Image

The plan is to remove as much of the body as I can, so I traced an outline of the pickguard onto some cardboard. This'll make sure I don't cut too much material off
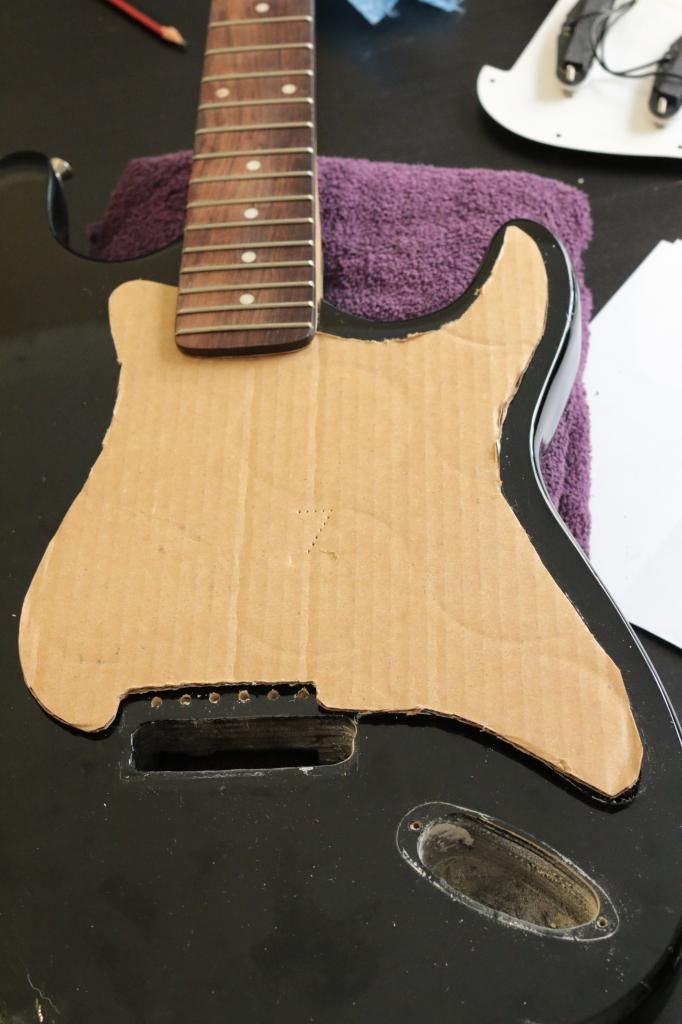
Image

And that's where I'm at for the moment. The next steps will be to relocate a couple of the tuning pegs, so I can shorten the headstock, then start cutting up the body!
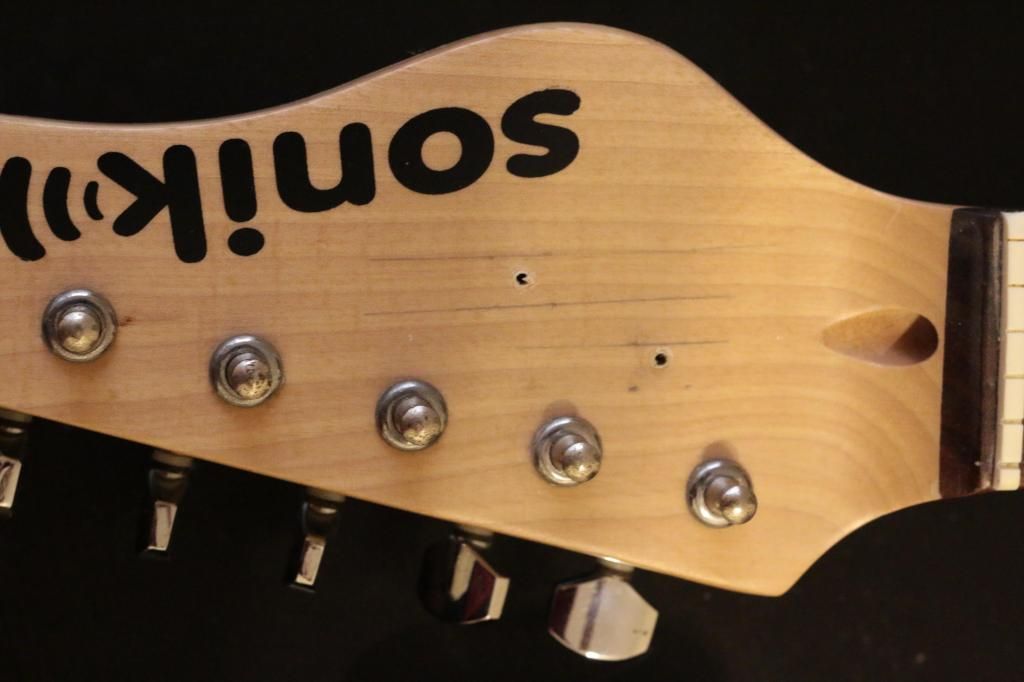

Re: Making myself a travel guitar!

Fri Oct 31, 2014 11:35 pm

patricks wrote: There will be guitarnage!
:shocked003:

:happy0065:

This looks like fun , neat about the Z-coil spacing being pretty close .

Re: Making myself a travel guitar!

Sat Nov 01, 2014 4:08 am

Hee hee! Thanks - it's turning out to be lots of fun :)

I made some more progress after dinner.
Before I took the strings off, I used the string trees as guides and marked where they ran. More on that later...
Image

Hard work and fun with projects calls for a tasty beverage
Image

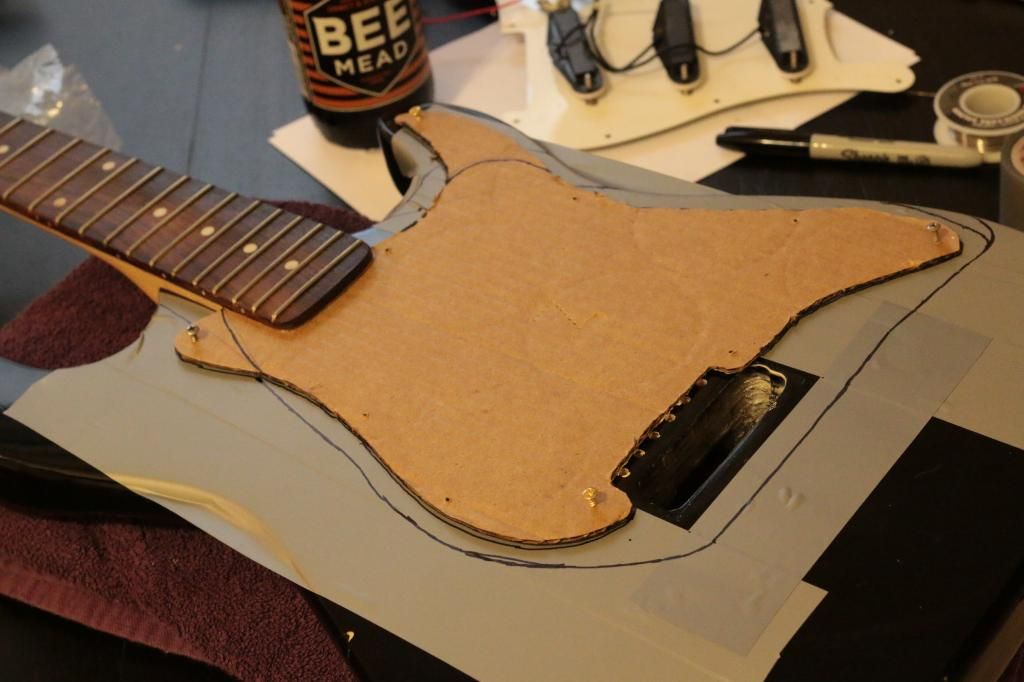
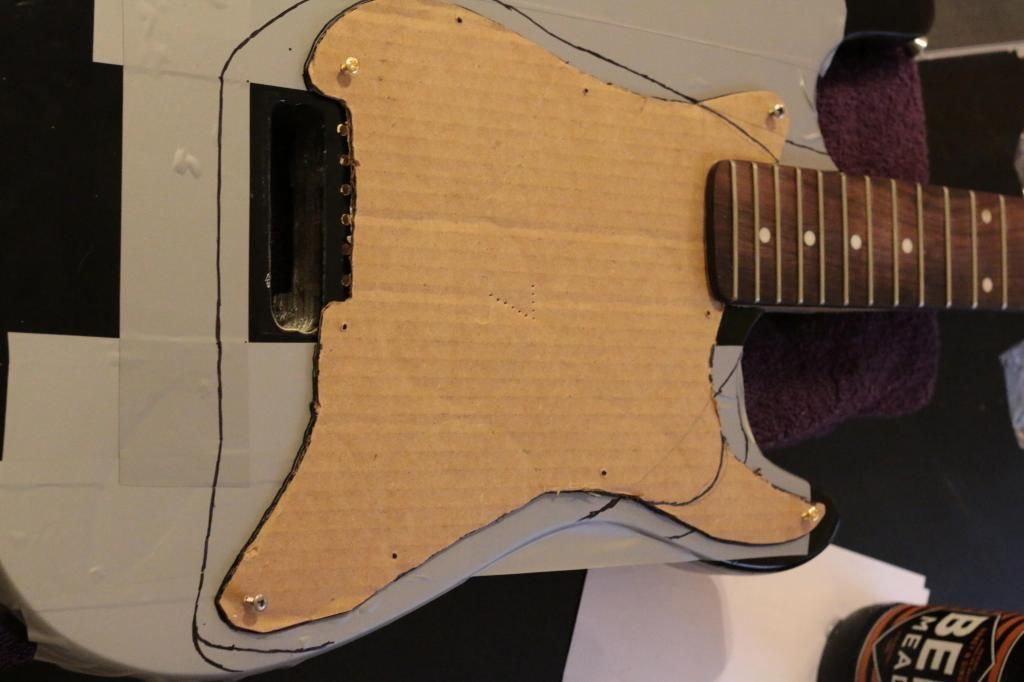
I put duct tape over the body, so I could draw on it with a sharpie (I would have preferred paper tape, but couldn't find any). Then I used the pickguard to mark the screw holes in the cardboard template, so I could attach it to the body and make sure it was aligned properly. Tasty beverage is still tasty.
Image

Then I traced around where I wanted the new outline to be (I used a pencil as a spacer next to the cardboard pickguard so that the new outline would be roughly even). Notice the extra line on the lower bout - I got all keen on taking off as much extra material as possible, then realised I'd better leave a little nubbin of the horn or it'd fall off my knee. I marked where I want to cut the pickguard down, too
Image

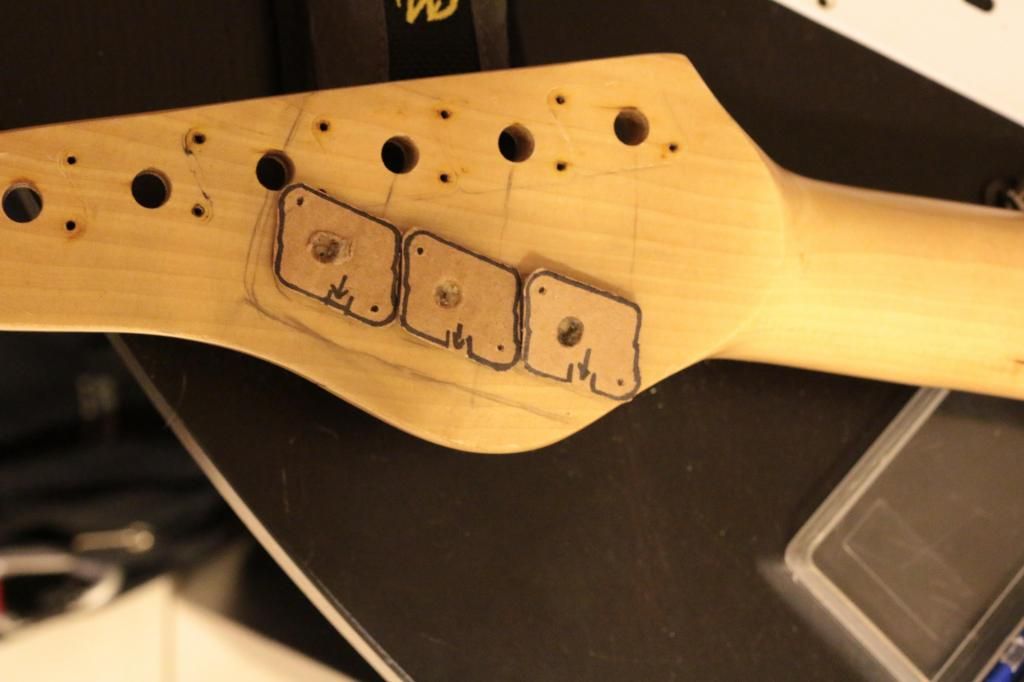
I used some thinner cardboard to trace around the tuning pegs, so that I could get the layout right. After a lot of back and forth checking how the strings will line up (that's what the markings on the top were for) and making sure that the tuning peg bodies won't bump into each other, they ended up here. The line(s) toward the top of the headstock are a freehand sketch of where I'll cut the headstock down. There'll be a little notch in the finished product, but I can live with that
Image

And that's all for now. I borrowed a friend's jigsaw and drill last week, but it's dark outside now and it's been raining all afternoon so I don't fancy plugging power tools into damp sockets in the dark. More tomorrow!

Re: Making myself a travel guitar!

Sat Nov 01, 2014 10:56 pm

Well, after a break this morning to walk the dogs and crimp some connectors onto the speaker wires in my car (long story) I got stuck into it again.

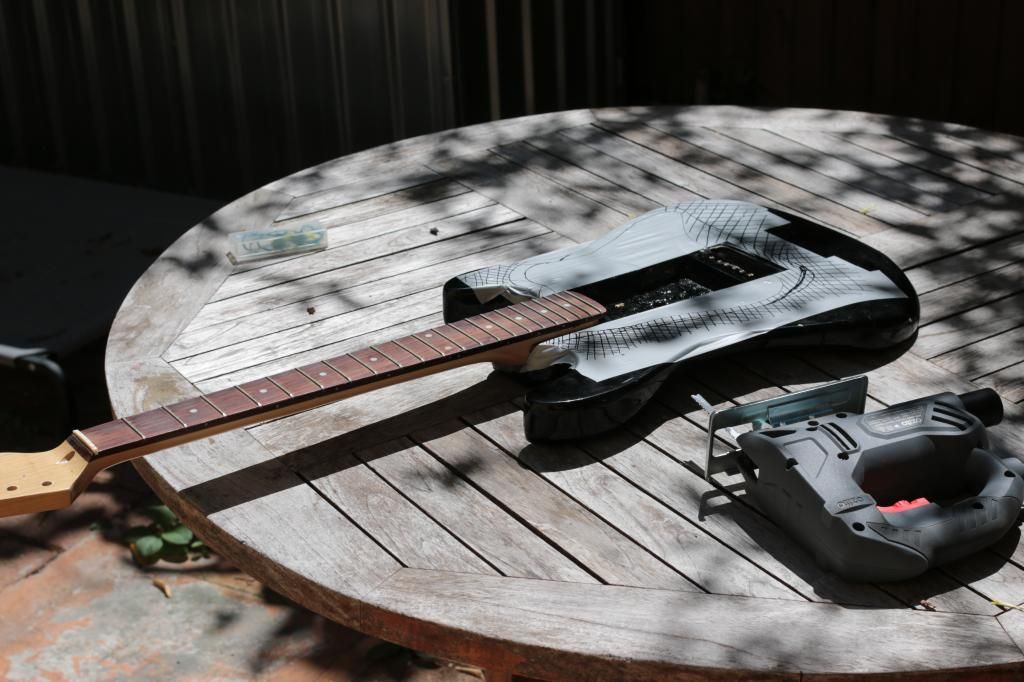
Here we are, ready to go, with the cuts all marked out
Image

And this is what it looks like after being attacked with a jigsaw
Image

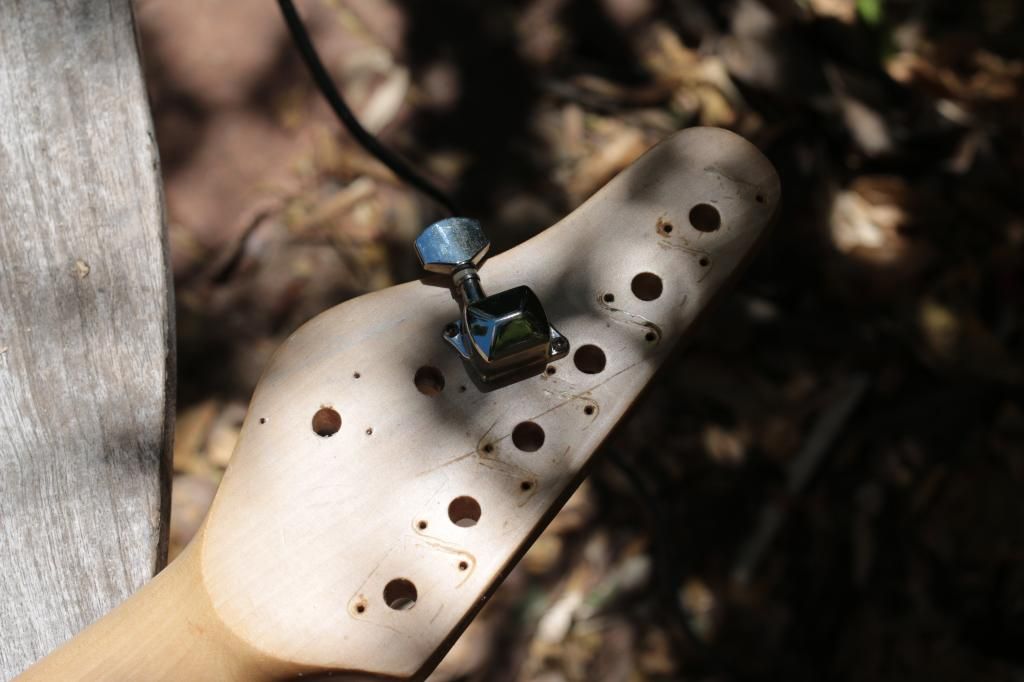
After double-checking the locations of the tuning pegs, I drilled the holes for the screws, then a pilot hole for the peg and finally the big hole for the peg. It fit!
Image

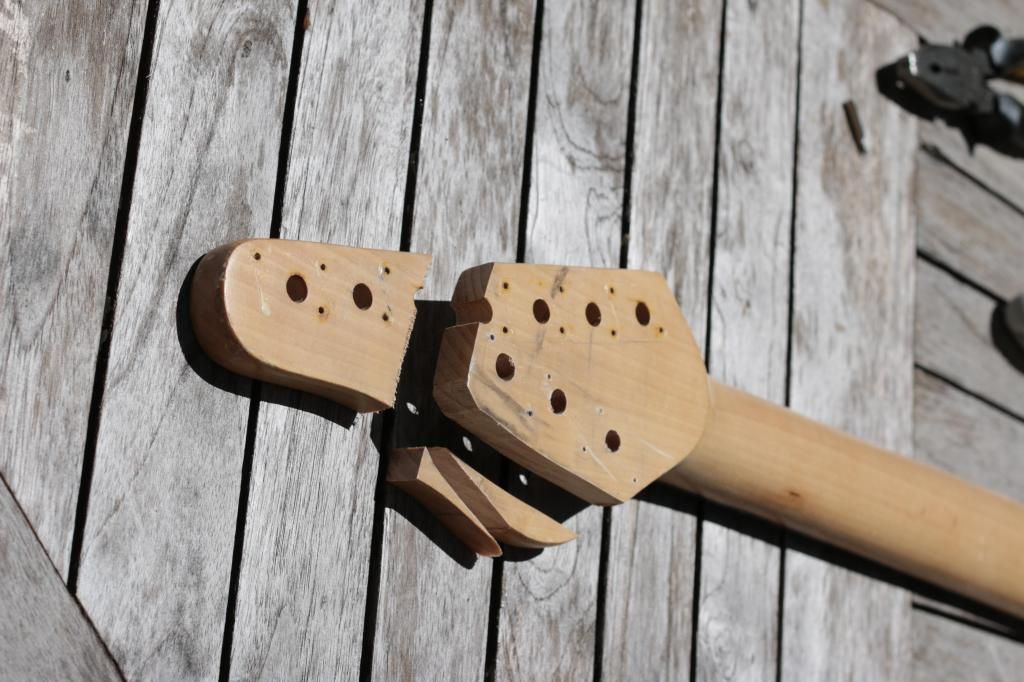
I drilled the holes for the rest of the tuning pegs and made sure they all lined up, too, then... off with its head!
Image

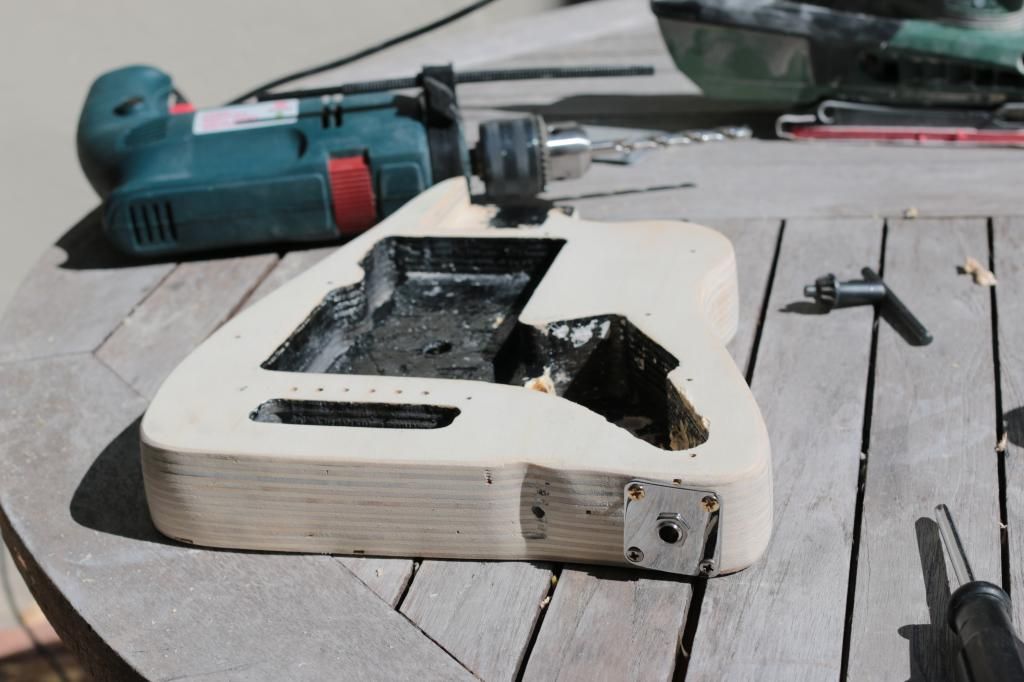
Next, sanding. So. Much. Sanding.

I finally got all the paint off and there followed much deliberation over where to put the jack plate. Checking where the curve of the plate best fit the guitar and measuring all over the place to make sure there was room for... ah, now that's a secret!

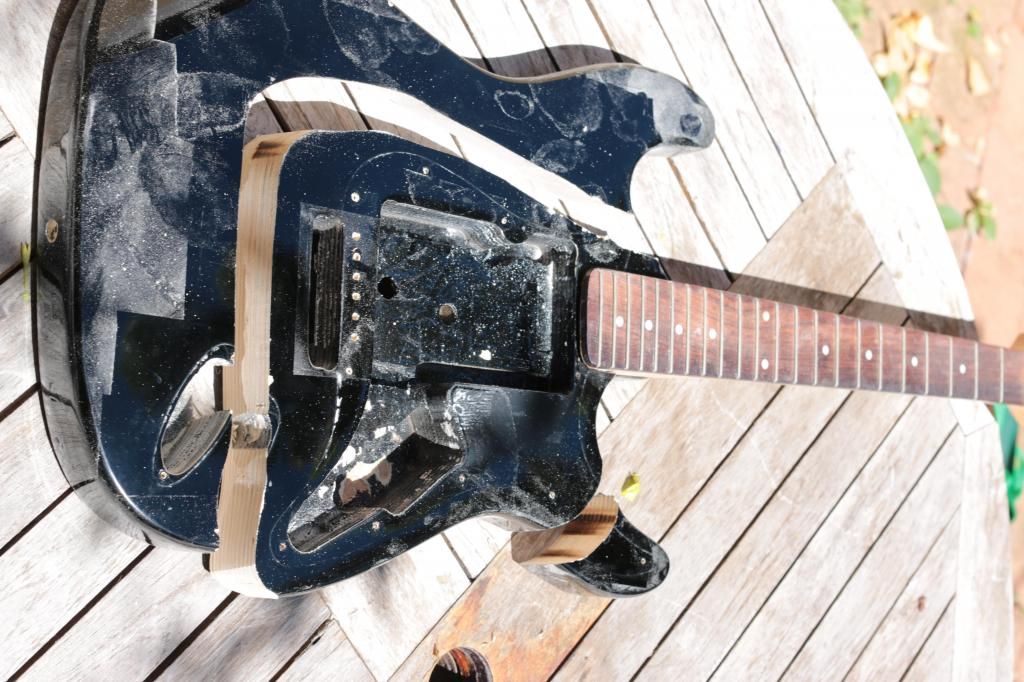
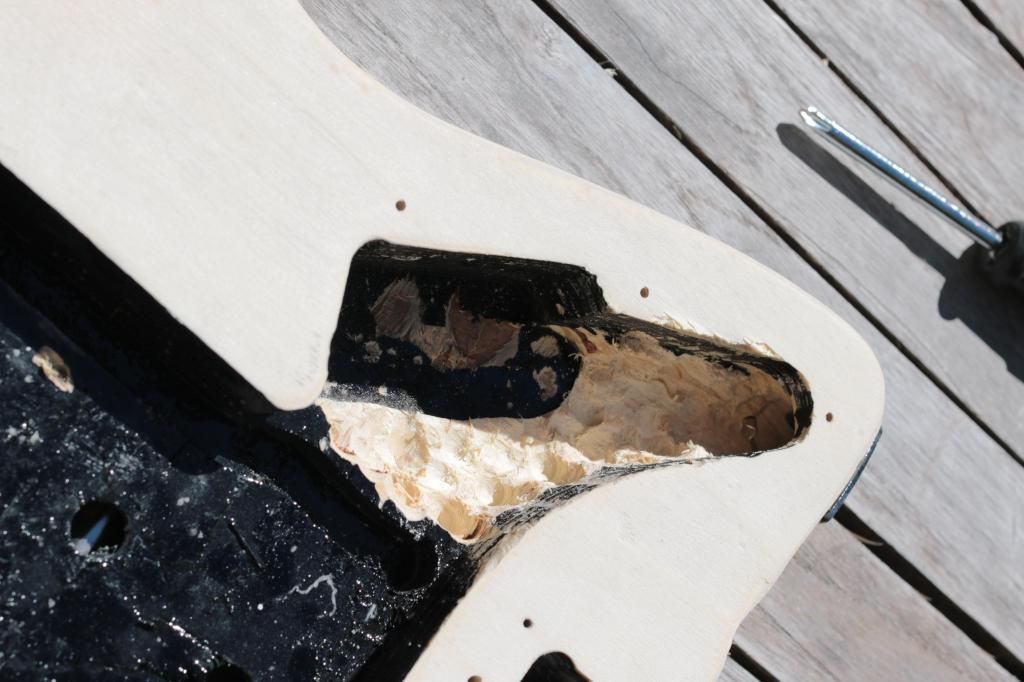
I decided to put the plate facing to the back (when the guitar's across my lap) so that I could use a regular lead. The plate fit better facing downward (guitar across my lap), but then I'd have to use right-angled leads if I was sitting down. As you can see, the plate's not straight. When I was drilling the screw holes, the bit tended to follow the path of least resistance between the layers of laminated wood.
Image

While I was at it, I hollowed out the control cavity for... later.
Image

The pickguard, with cuts marked and an outline of the z-coil
Image

And the finished product. The hole for the z-coil isn't perfect (vote now for the prize for "understatement of the year"!), but it'll do. I'll admit I rushed the cuts a bit, because I want to get this assembled today. And the back of my neck was getting sunburned.
Image

Re: Making myself a travel guitar!

Sun Nov 02, 2014 12:09 pm

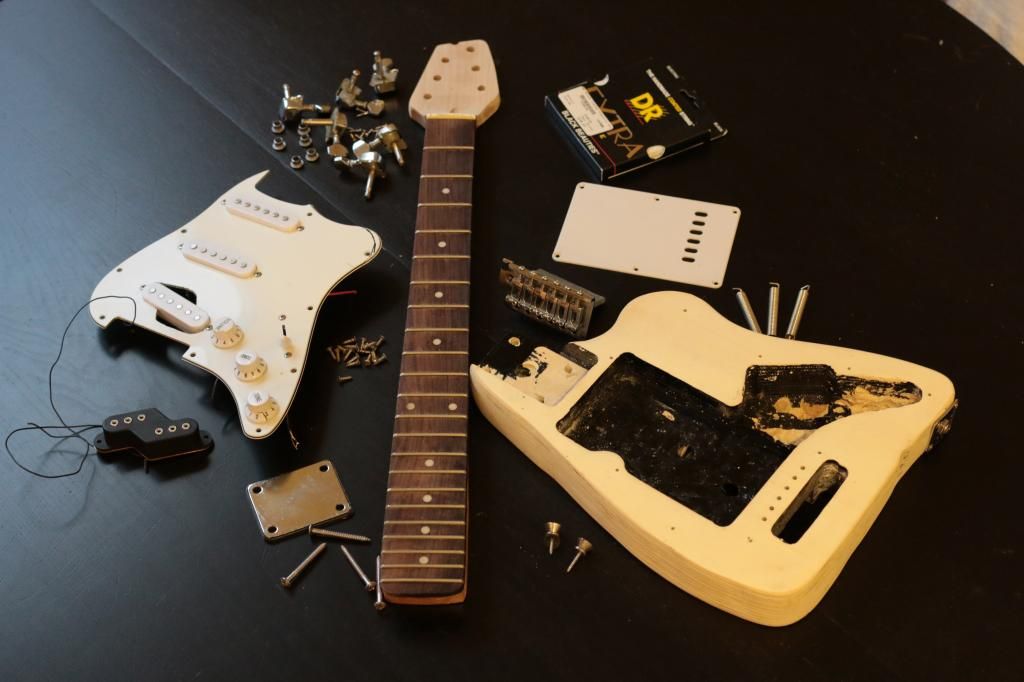
Finally, it's time to put it all back together
Image

After putting the tuning pegs and bridge in, I soldered in the jack and earth lead to the tremolo claw and put in the new pickup. Pickguard done, it was an easy job to screw it down. After putting on new strings and doing a rough setup, here's the finished product
Image

Not the belle of the ball, but small and very useful.
First impressions: Tuning pegs are utter crap. Getting the pitch just right is like trying to perform heart surgery with a spoon. I've floated the trem, but the tuning stability's pretty bad, so I'll probably deck it again. Any more than a quarter tone bend and the string goes out of tune. Part of that is the new strings, with the tuning pegs and bridge playing their part, so decking the trem will take the bridge out of the equation.
Ergonomics are not good - for me, at least. I think it'd be fine for people using a plectrum, but I use my fingers. Without the upper part of the body to rest my forearm on, my wrist gets cramped up. I think a strap might be the solution, so I'll experiment with that.

And that's it! Stage One complete. That's right, this is just stage one...

Re: Making myself a travel guitar!

Sun Nov 02, 2014 12:36 pm

That's a lot like how John Mayall's Fenders end up looking!

Re: Making myself a travel guitar!

Mon Nov 03, 2014 11:21 am

Thanks for posting all that - seriously, Must have been as much or more work than physical work. Enjoyed it. Very impressive mate!

Cheers,
KF

Re: Making myself a travel guitar!

Mon Nov 03, 2014 12:26 pm

Hey, thanks everyone!

Nick, I'd never seen John Mayall's cut down guitars before - very cool! In retrospect, I should've done what he did and left a little of the upper bout to attach a strap button. That's just given me an idea for the next build, though. :idea:
I'll leave a pointy bit on the upper bout facing in the opposite direction from the controls so it looks like a mini-firebird :mrgreen:

Tim - I love cigar box guitars, and yours looks like one of the best examples I've seen :thumbup:
Love that cigar box Willie vid, too!

Thanks, Kate - yeah, it took a fair bit of planning. The cuts to the pickguard aren't as smooth as they could be and there's a bit too much of a gap around the z-coil are a bit big cos I was getting impatient and rushed that part. I was a little over-cautious with the screw holes for the tuning pegs, too and made the initial holes too small. With all the screwing in and unscrewing, I burred a couple of the screws that hold them in place, but they're solid enough and I'll replace them in time.

Oh, I forgot to mention the other good part - total cost so far... $40! $35 for the guitar and $5 for the jack plate :mrgreen: